
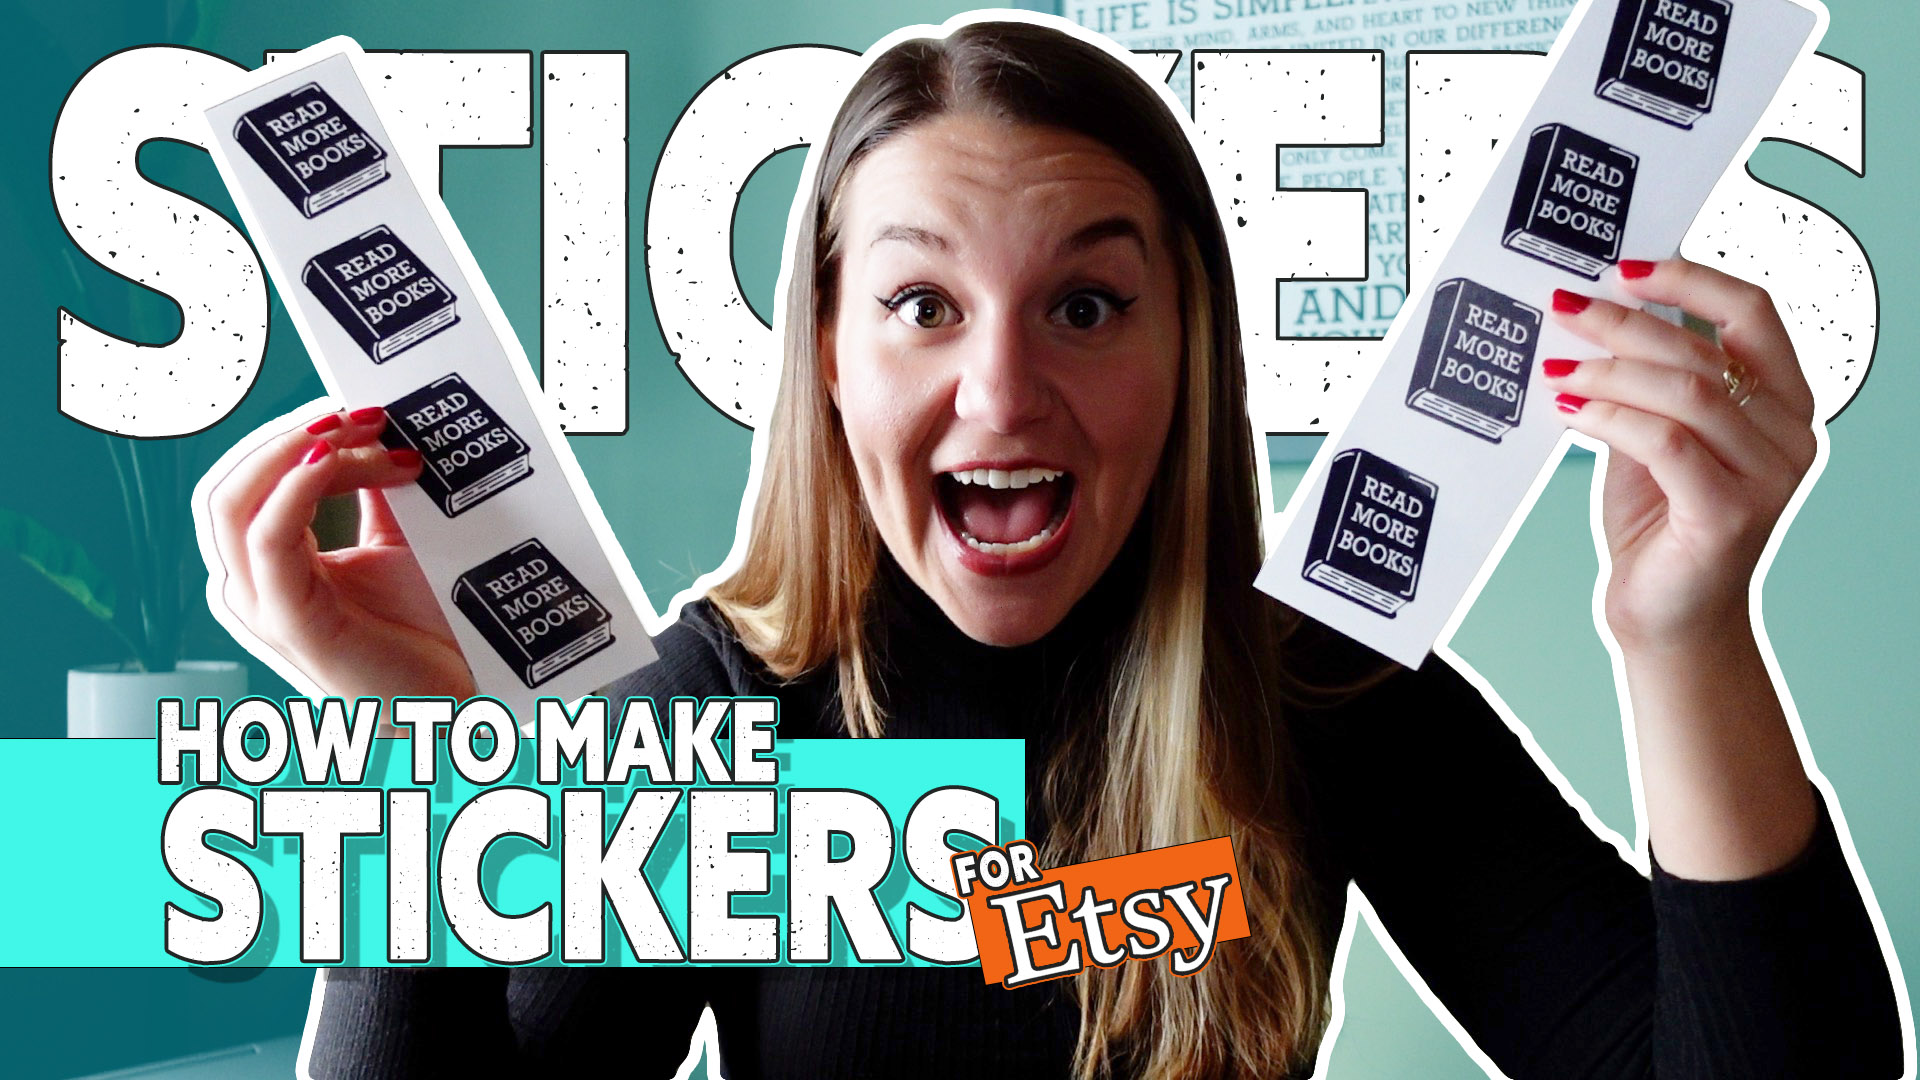
This past year I started my own Etsy shop! Woohoo! 🙂 Since I was a kid, I wanted to be an illustrator, so I finally get to live my dream and have my own illustration business.
In this post, I share with you the steps that I follow to create durable, waterproof stickers for my Etsy shop. This is the best and most affordable way that I’ve currently found to make stickers. Everything that I use is meant to be super easy and cost-effective.
Table of Contents
Prefer to Watch Instead?
If you would rather listen/watch along, here’s my step-by-step video on how I make my stickers!
My Sticker Supply Kit
Affiliate links mean that I earn a commission from qualifying purchases. This helps support my work at no additional cost to you. 🙂
- iPad Air (4th Generation)
- Apple Pencil (2nd Generation)
- Paperlike
- Procreate
- MacBook Pro
- Adobe Illustrator
- Canon TS6420 All-In-One Wireless Printer
- White Vinyl Sticker Paper
- Laminate sheets
- Cutting Mat
- Giotto’s Rocket Air Blaster
- Gingher Scissors
A Note About My Tools
Besides my graphic design classes in undergrad, I had never really had an itch to draw digitally. I had always preferred to draw on paper…until I started making stickers for Etsy.
I now create all of my stickers on my iPad Air with my 2nd generation Apple Pencil in Procreate. Buying Procreate was hands-down the best $10 I have ever spent. Procreate is a digital drawing app that has almost entirely convinced a paper nerd like me to never use paper again (key word: almost…). You have a seemingly endless amount of writing implements all in the space of your iPad (we truly live in an incredible time, don’t we?) and it’s honestly so much more economically friendly versus having to buy a bunch of art supplies. That’s not to say that I’m a total digital nerd now, but I can definitely understand the perks after having made a shift toward the digital.
At first, I honestly didn’t really enjoy drawing on the iPad. It felt too slick to draw on since I’m so used to drawing on paper. A friend of mine recommended getting a Paperlike and it truly makes a world of difference. It’s basically a textured screen protector that you stick to your iPad screen. It creates a small amount of resistance as you draw with your Pencil, so it feels like you’re actually drawing on a sheet of paper. Not only is this amazing for drawing, but I also LOVE writing on my iPad now, too!
6 Easy Steps to Make Your Own Stickers
These are the 6 easy steps that I use for making stickers for my Etsy shop to help you create stickers for your Etsy shop or just for fun!
I’m a super minimalist, so instead of owning a Cricut, I hand cut all of my stickers. While it can be a little tricky to cut round stickers in the beginning, I’ve found that with a little patience I’ve been able to cut some pretty schnazzy looking stickers without having to invest hundreds of dollars into an expensive cutting machine.
Hopefully these steps will help you create your own stickers! 🙂
Step 1: Create Your Illustration
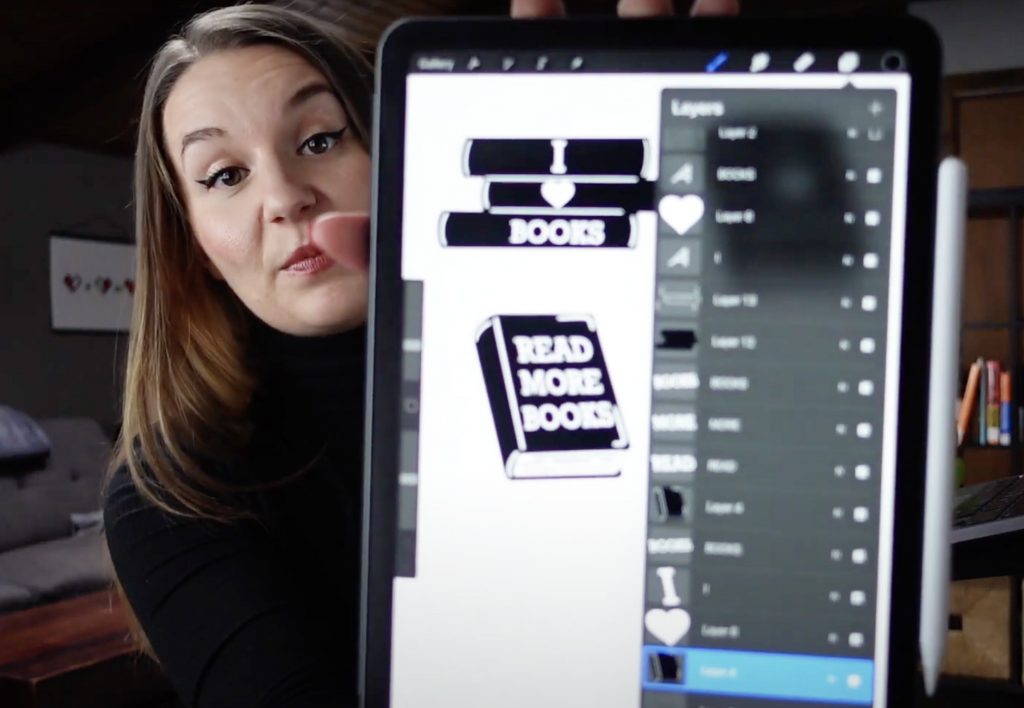
I draw all of my designs in Procreate on an 18″ x 24″ document. Why 18″ x 24″?
By making my illustration this large, I have the option to either make it that large, or I can size it down into a sticker, a greeting card, or whatever else my little heart desires.
Pro tip: Always draw your designs larger than you might need because if you draw something small and try to scale up, you don’t have the extra pixels that are needed to fill in the gaps caused by making your image larger. By drawing large and then scaling down, you have more than enough pixels to keep your drawing from getting pixelated.
Step 2: Export Your Illustration as a .png
Once I’ve created my illustration in Procreate, I turn off the background color and export it as a “.png.” I then Airdrop the “.png” to my laptop.
Step 3: Edit in Adobe Illustrator
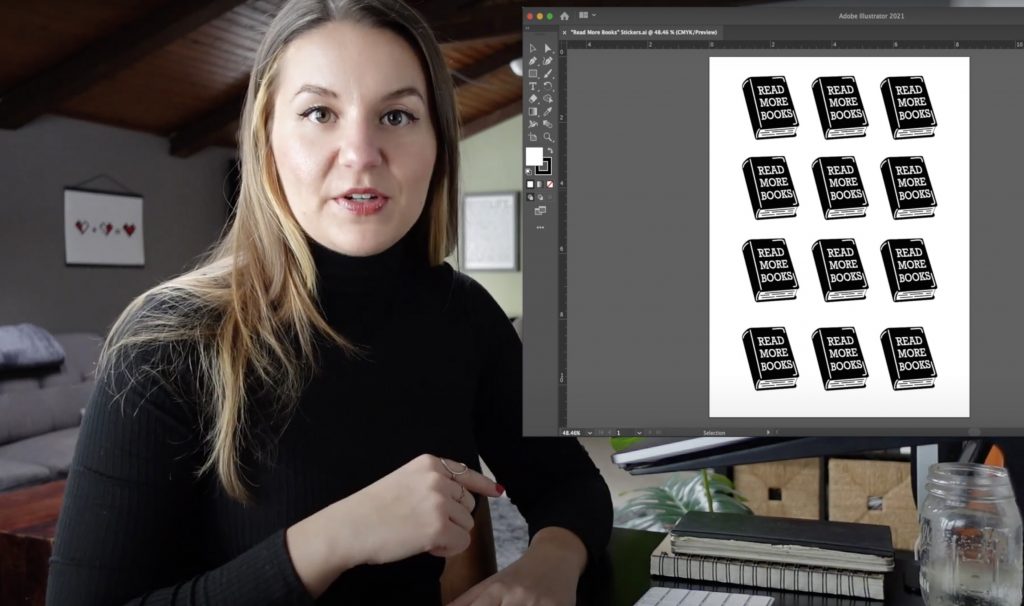
I then create an 8.5″ x 11″ document in Adobe Illustrator and transfer my Procreate design to my new Illustrator doc. Since Procreate doesn’t have a ruler, it’s difficult to get a true sense of scale, so I use Illustrator to accurately resize my illustration. I can also add a stroke around the sticker 🙂
In Illustrator, I make sure the ruler is showing by pressing “command + R.” I then draw my guides by clicking inside the ruler at the top or to the left, and then drag them to the size sticker I want to create.
After doing that, I drag and drop my “.png” into my Illustrator doc and SLOWLY start to scale it down to fit in my guides. I emphasize slowly because you don’t want to be shrinking and then enlarging your drawing over and over again because it will get pixelated and weird. Don’t do that.
Once my drawing is at the appropriate size, I then repeat this process with any other stickers I want to make.
Step 4: Print
After resizing your stickers in Adobe Illustrator, it’s time to print them!
What Sticker Paper I Use
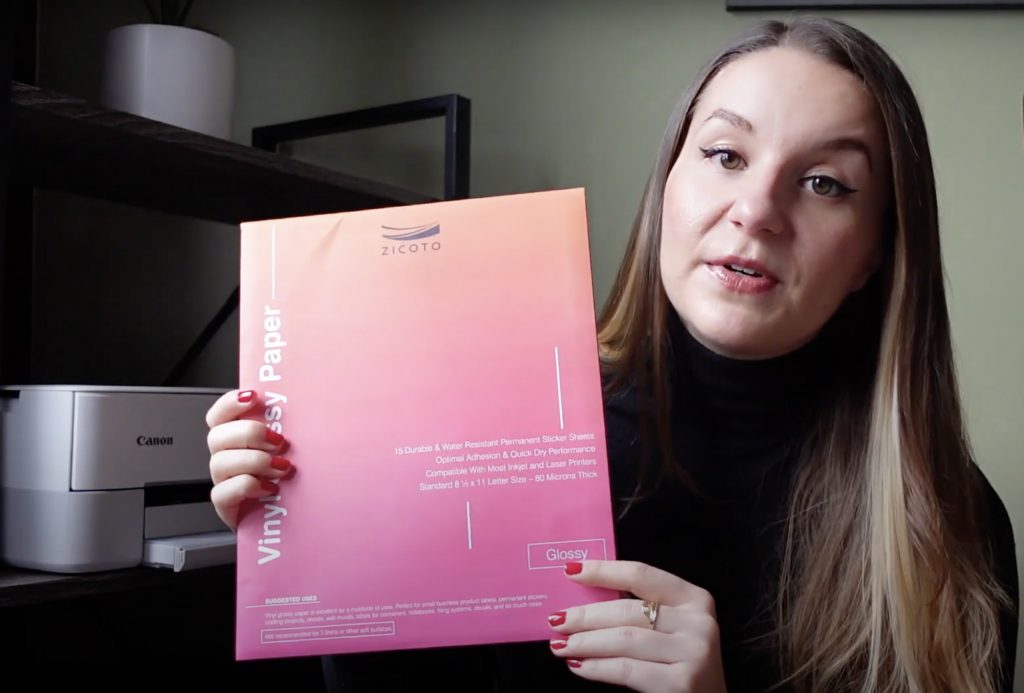
When I started making stickers, I looked into almost every sticker paper imaginable. I wanted to make sure that I was picking the best sticker paper possible for my Etsy shop. I found this one and I’ve stuck with it since starting my shop. I have absolutely no qualms with it; it doesn’t bleed, it works really well, and the adhesive is really nice.
What Printer I Use
I use the Canon TS6420 to print my stickers. I am obsessed with this printer. It creates such beautiful, crisp prints that it’s one less thing to worry about when making stuff for my Etsy shop. Oh, and it’s also wireless which is super awesome! I have the latest MacBook Pro and it doesn’t have a USB port (which is honestly super annoying), so the less I have to worry about cords or finding my USB adapter in my desk drawer the better!
I tend to print all of my designs straight from Illustrator for ease, however, you can always download them into a JPEG or PDF and then print.
When printing from Illustrator, I select “US Letter Borderless” to ensure that none of my designs get chopped off while printing. I also make sure that I print in the highest quality and set my paper to “Glossy Paper II.” I’ve had the best success with these settings.
After printing, let your stickers dry for about 30 minutes before the next step.
Step 5: Laminate
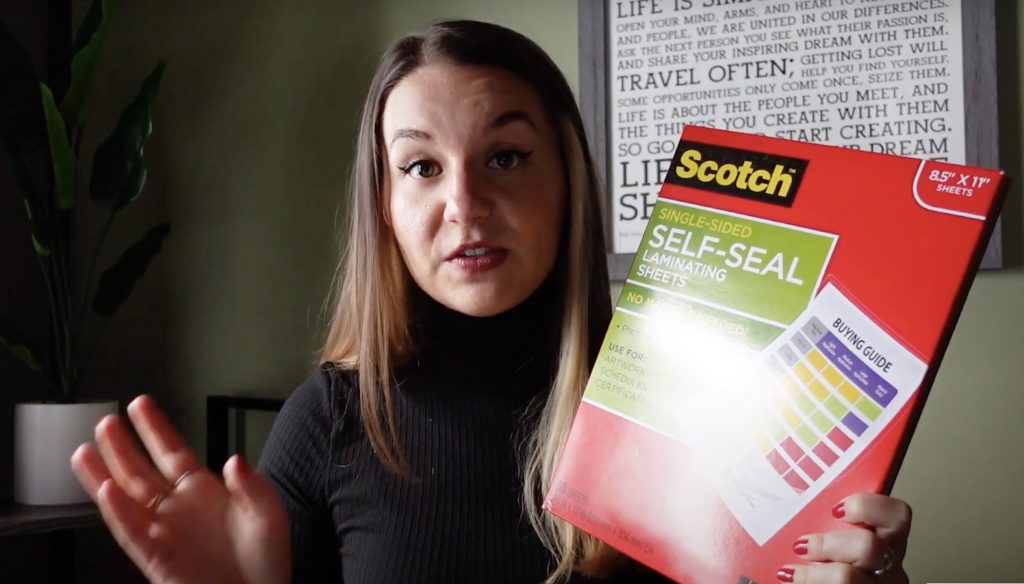
Alrighty, so your stickers have had enough time to dry, so on to the next step: lamination.
I HIGHLY recommend that you laminate your stickers after printing them. Laminating your stickers ensures that they stay waterproof and it will also make them so much more durable than if you left them unprotected. I LOVE THIS LAMINATE! It’s been absolutely amazing and I still use it to this day 🖤
To laminate your stickers, take your printed sticker paper and put it on a cutting mat. I use the Giotto Air Blaster to get rid of any little fuzzies that might have fallen onto my sticker sheet while it was drying, so I highly recommend that you do the same. I don’t recommend using your mouth to blow on them because you can accidentally spit on your stickers which sucks…err, blows.
After you’ve made sure there are no little fuzzies on your sticker paper, carefully apply your laminate sheet by applying even, steady pressure using a large hefty ruler or squeegee. I would recommend using a squeegee, however, this ruler does a really great job as long as you can apply steady pressure.
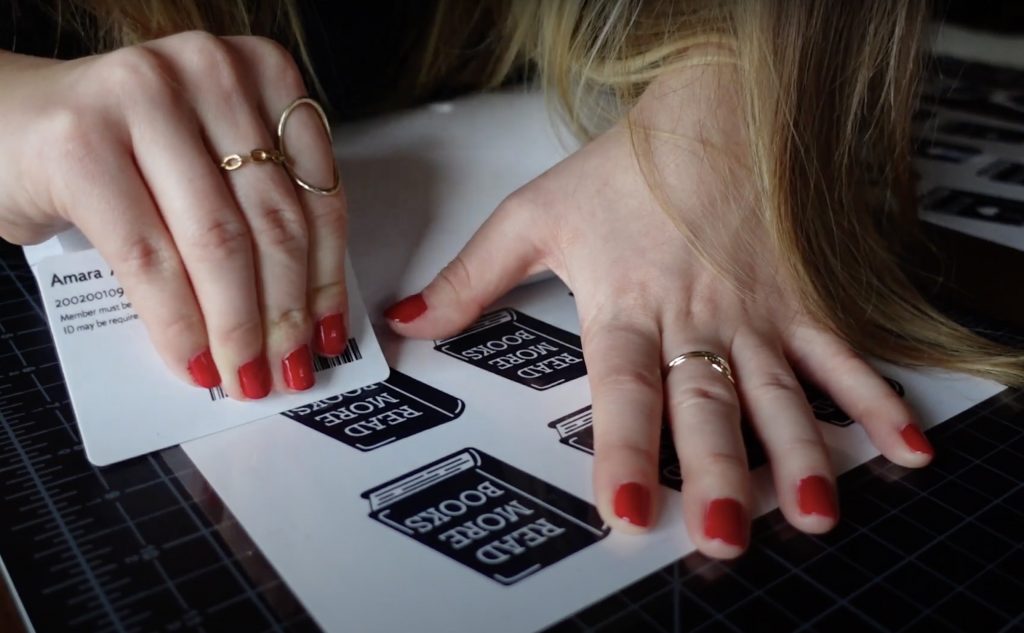
Step 6: Cut
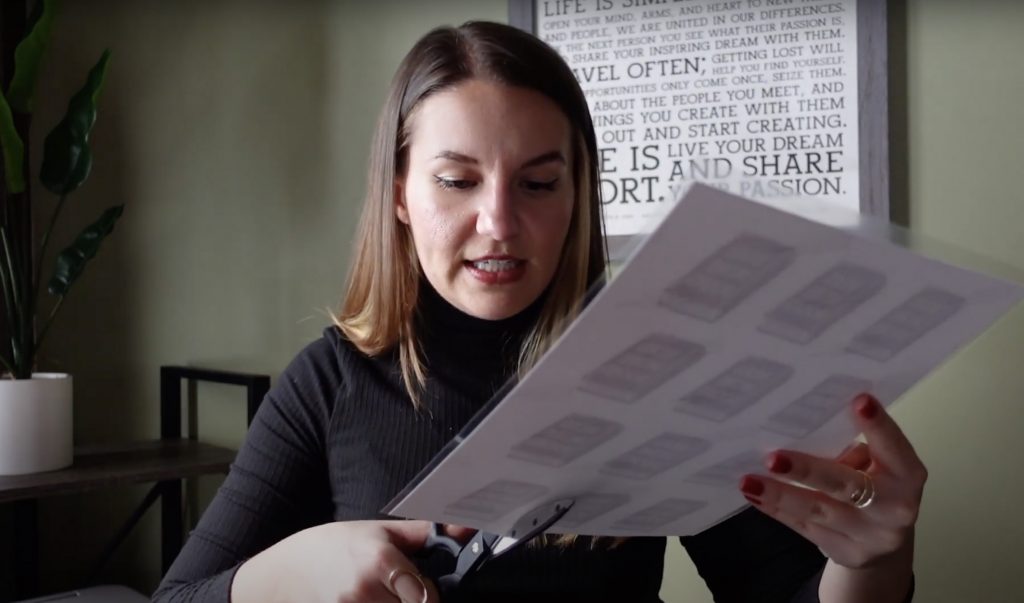
Now all you have to do is cut out your stickers! 🙂
My best cutting tip is to make sure you have even, smooth, steady cuts instead of a bunch of short, choppy cuts. Think elegant, regal cuts. How do you think a royal would cut paper? Nice and steady and smooth, right? Now, adopt that frame of mind when cutting out your stickers!
Obviously, the Cricut or other cutting machines exist, but if you’re on a budget or frankly don’t want to spend a couple hundred dollars on a machine you aren’t sure you’ll use, then don’t waste your money. Just try to create stickers that have geometric shapes so then they’re easier to cut.
For sharp, beautiful cutting, I absolutely LOVE these Gingher scissors! I bought them for a pattern drafting class I took in undergrad and these have been the most amazing scissors I’ve ever used in my entire life. No other scissors can compare to a pair of Ginghers.
How’d it Go?!
And that’s it! Nice and simple, right?
I would LOVE to know how your sticker journey went and to see your stickers!!! Please comment below how it went for you or feel free to tag me on Instagram or Twitter so I can take a look at your amazing creations!
Also, if you have a different way that you make stickers, let me know your tips, tricks, and suggestions in the comments below! I’m always looking for ways to optimize my methods! 🙂
Leave a Reply